
When you want to get started in using Taxumo, the first thing that you need to do is check your settings page. This is a very important step before you begin filing taxes as Taxumo’s system will be referring to the info you set in here in filing your tax forms. So, in this article, we’ve detailed every single step so that you can start on a set and forget tax compliance system with us!
Steps on how to set your profile correctly.
Step 1
Have your Certificate of Registration or COR from the Bureau of Internal Revenue by your side. If you have a Tax Identification Number but haven’t secured a COR yet, please message customercare@taxumo.com to inquire about this service. We have partnered with reliable processors who can help you out.

Step 2
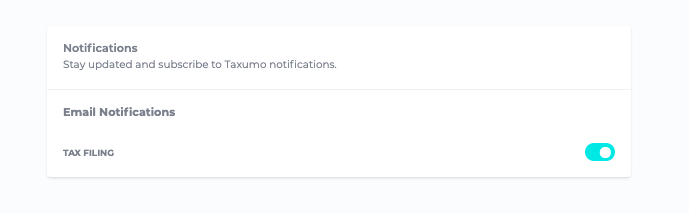
Turn on your email notifications if you want to be notified when your tax deadlines are near.
Step 3
Check the Taxpayer details portion. Make sure that you type the entries as how it is written in your Certificate of Registration or COR.
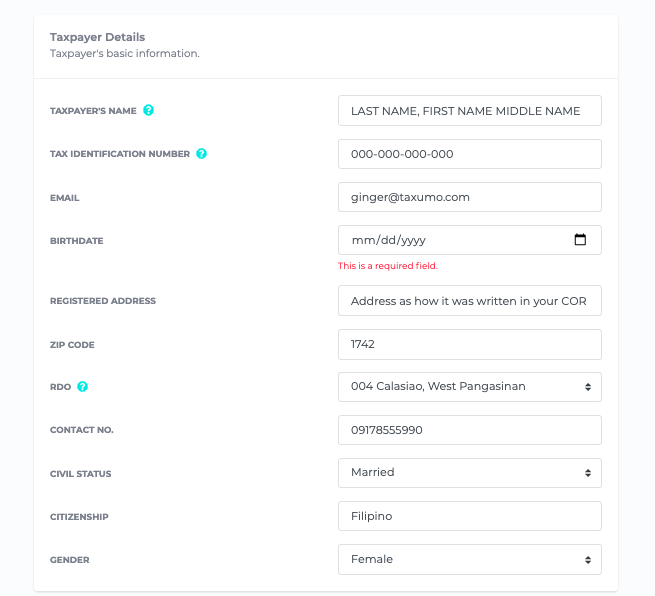
Some tips on filling out your taxpayer details:
- Taxpayers Name – If you are an individual (even with a TRADE NAME), you need to write your full and complete name. Just copy what is written in your COR. If you are a Corporation or Partnership, write your company name.
- Tax Identification Number – This is the most important part of your Settings page. Make sure that your TIN is correct. The last three digits of your TIN, which is usually 000, is called the branch code. You will notice that if you have multiple branches or multiple businesses under one TIN, the last three digits changes to 001, 002, and so on and so forth. So anywhere in the system where TIN is required, keep this in mind. You will need to click on the verify TIN button in some sections of Taxumo later on.
- Birthday– Please make sure and see if MM/DD are inputted correctly. Some computers have settings that ask you to input it as DD/MM. Again, there will be instances in Taxumo where dates will be required, so please check and see if your computer requires DD/MM/YYYY or MM/DD/YYYY (MM is the Month and DD is the day)
- Revenue District Office or RDO – Check the Number indicated usually at the top of your Certificate of Registration. It’s indicated there which RDO you belong to. Or, you can also type the city in the field and it will show you the RDO number. Just verify after if this is what is shown in your COR.
Step 4
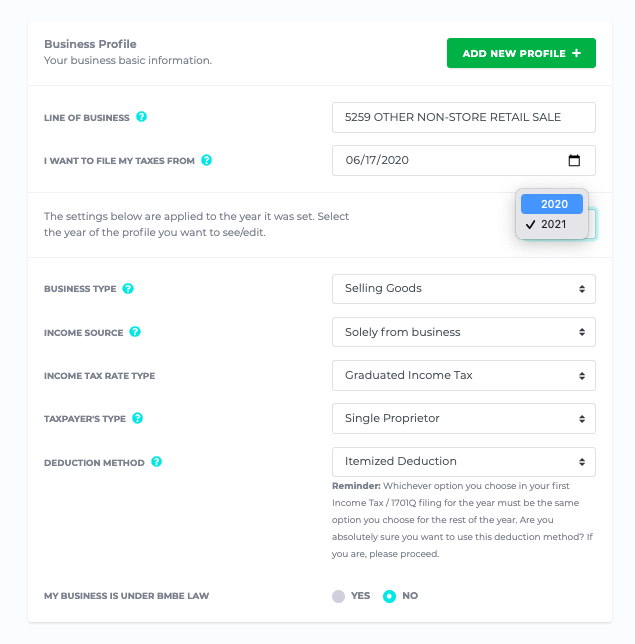
Check the business profile portion. Here are examples of how this portion might look like, but read the explanation below:

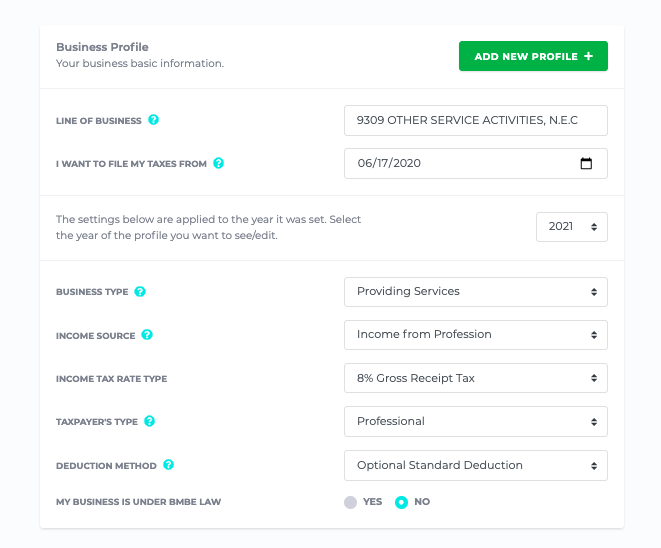
Some tips on filling out your business profile:
- Line of Business – Feel free to copy what is written in your Certificate of Registration
- “I want to file my taxes from” – If you just got your Certificate of Registration or COR, place the date when the COR was issued. It should be indicated (written or stamped) in your COR. For those who were manually filing prior to Taxumo, indicate the date when you wish to pay your taxes.
- Income Source – If you are registered as a Sole Proprietorship (with a Trade Name from DTI and a Mayor’s Permit), choose “Solely from Business”. If you are a licensed professional or a non-licensed professional (freelancer, consultant, project hire, etc.), choose “Income from Profession”.
- Income Tax Rate Type – You can choose either to use the Graduated Income Tax Table or the 8% rate if you are a non-vat entity. If you are a VAT entity, only use Graduated Income Tax. For 8% eligibility, you will know if you should choose this if a) it is written in your COR, b) if you have been using this for the year, prior to switching to Taxumo, and c) if you’re choosing it before the first filing of the year. Note that you cannot choose 8% if you have missed filing previous forms for the current year.
- Deduction Method – For the deduction method, this field will only matter and be taken into consideration if you choose Graduated Income Tax as your Tax Rate Type. How do you choose? Please refer to the table below:
| If your expenses are less than 40% of your Gross Revenue | Choose Optional Standard Deduction |
| If your expenses are greater than 40% of your Gross Revenue | Choose Itemized Deduction |
- BMBE – Choose “yes” only if you have a Certificate from your City that proves you are qualified to be a Barangay Micro Business Enterprise.
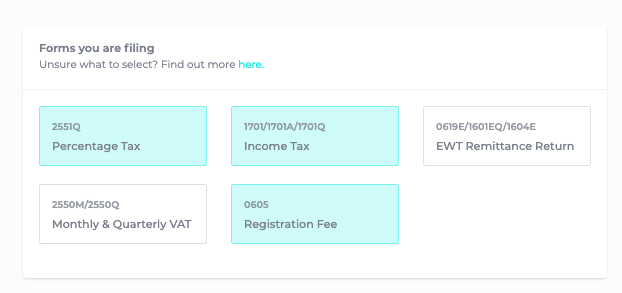
Step 5
Double-check that you have clicked and highlighted in Aqua the taxes that you need to pay for. Check your COR for the Tax Types that you need to pay. Click on Save below once you have set it up.
Step 6
Make sure that you have the correct settings for each year.
Note that you need to check if your settings per year are correct. You can do this by clicking on the year. Please don’t forget to SAVE THE SETTINGS AND TYPES OF TAXES PER YEAR by clicking on the SAVE CHANGES button at the bottom.
Step 7
Feel free to upload a copy of your Certificate of Registration and e-Signature. This is optional but it saves you the hassle of looking for these documents on your computer later on.
That’s it! I hope this guide helps you in setting up your Taxumo account properly.
If you have more questions, feel free to join any of your onboarding sessions. These are FREE sessions, so feel free to book a time slot here.
Pingback: How to Receive your Payouts and Issue Invoices as Lazada Affiliates